Homeschool sensory bottles
From the time they are born, babies recognize their environment through their senses. In the future, they focus on their environment by starting to crawl all on fours and walk. They easily notice the change in the environment. We can develop the senses of babies and children by drawing attention to them and by preparing different effects. We can provide the details of the objects with the senses of sight, hearing, touch, taste and smell.
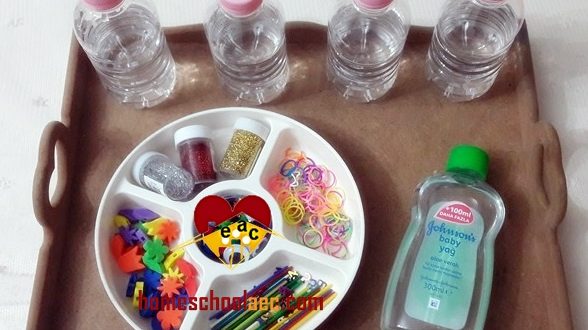
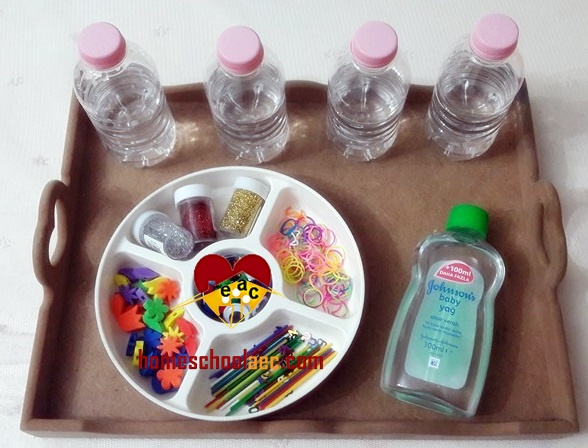
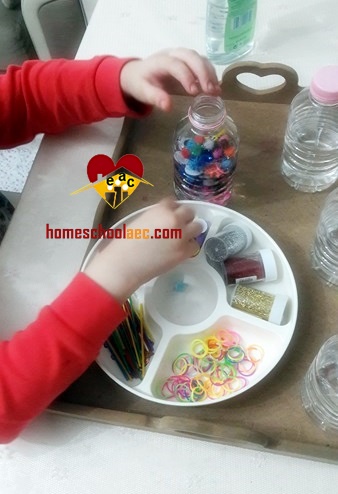
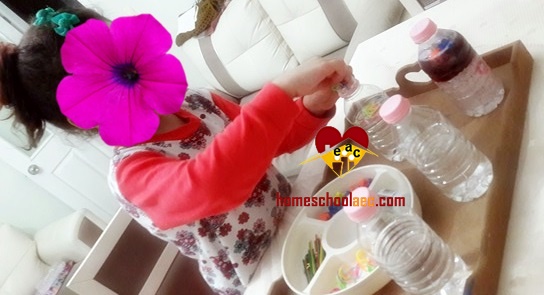
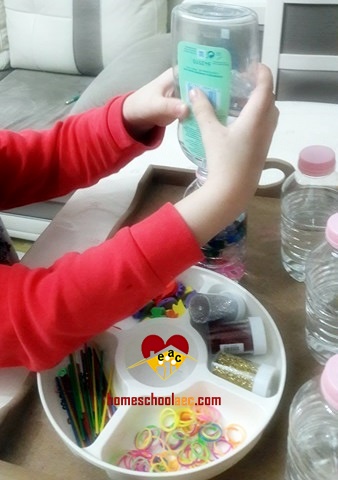
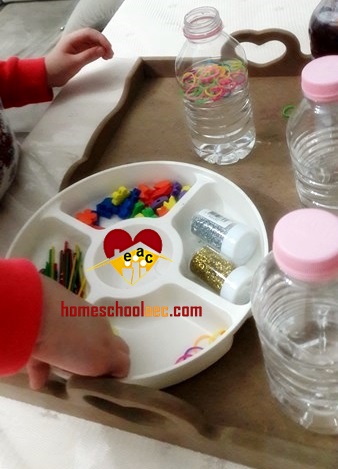
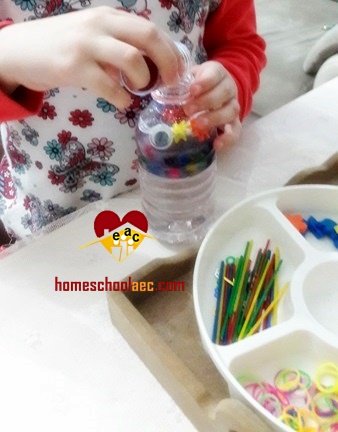
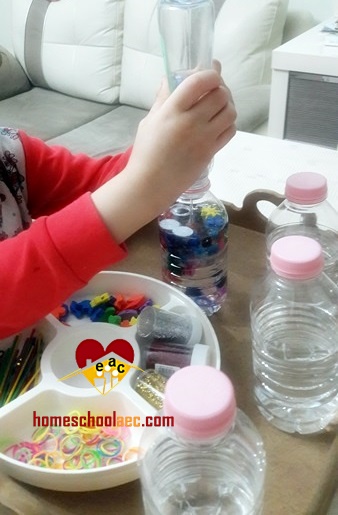
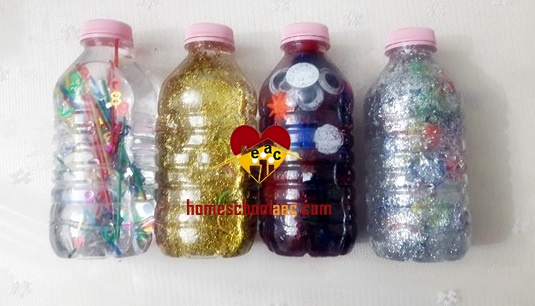
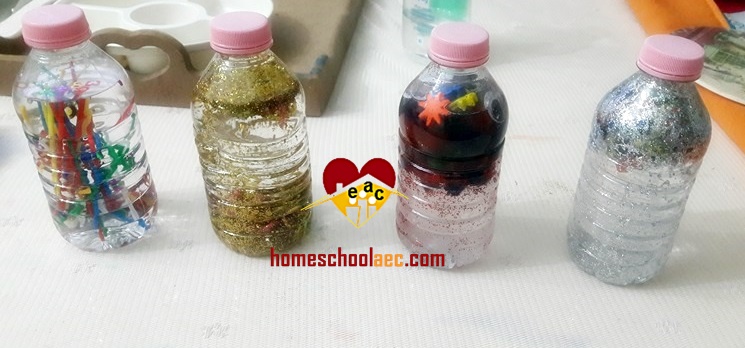
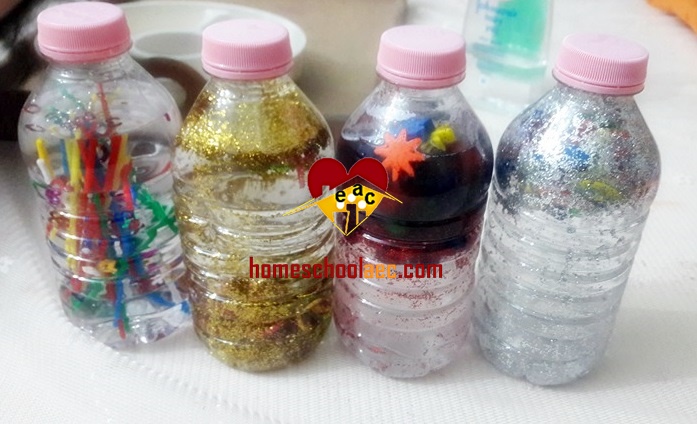
Making an sensory bottle is really simple. You will fill the bottles with various products. You can use an old plastic bottle or use a bottle that is not dangerous for your transparent baby. It can be in a box. I think the materials you will put inside are limitless. You can convey many concepts, color, theme. So if you are teaching red color, you can prepare a sensory bottle with red material. You can prepare a blue colored sensory bottle by throwing tiny toy fish inside a book about the sea. Options unlimited 🙂
I am writing a few of the materials that come to my mind for you as an example.
Sensory bottles filling materials ;
- Glitters
- Colored beads, pearls
- Googly eyes
- Pompoms
- Colored stones
- Sticker
- Flowers
- Leaf, branches
- Rice, beans
- Baby oil
- Glycerin
- Food coloring
- Sand
- Plastic foam letters, numbers
- Tiny toys
- Colored objects
- Tiny colored beads (Ikea)
- Stars
- Sticky sim (you can find it as glitter glue)
- Dishwasher detergent
- Shampoo and hair cream (provide different densities)
- Oil
- You will also need a magnetic object (such as a paper clip).
- Tiny hair tires
- Cotton
- Small pieces of drinking straw
- Buttons
- Pasta, lentil
The list goes further 🙂
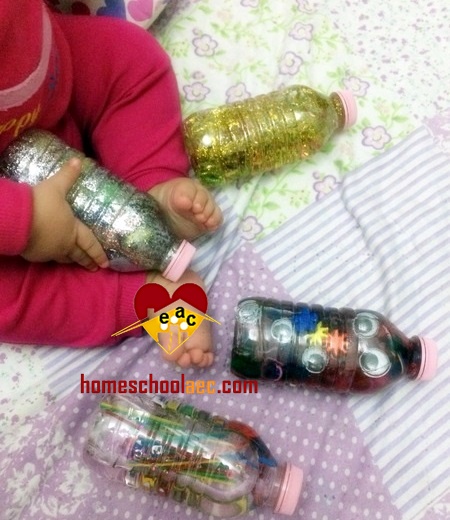
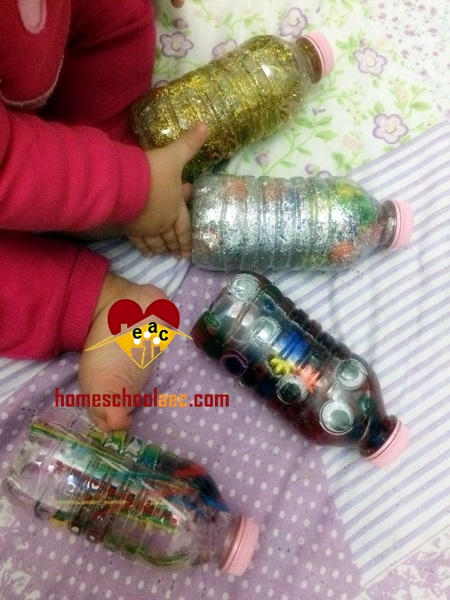
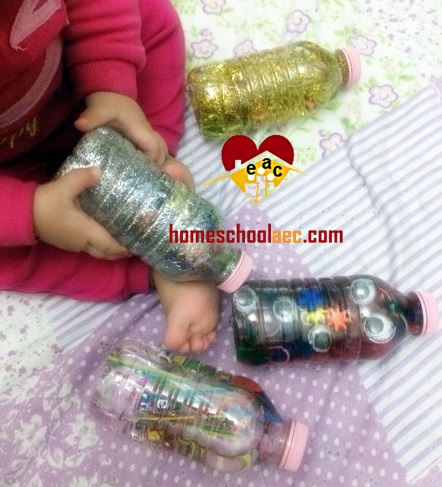
 Homeschool Craft and Art Craft Activities
