Sensory bottles for babies or toddlers
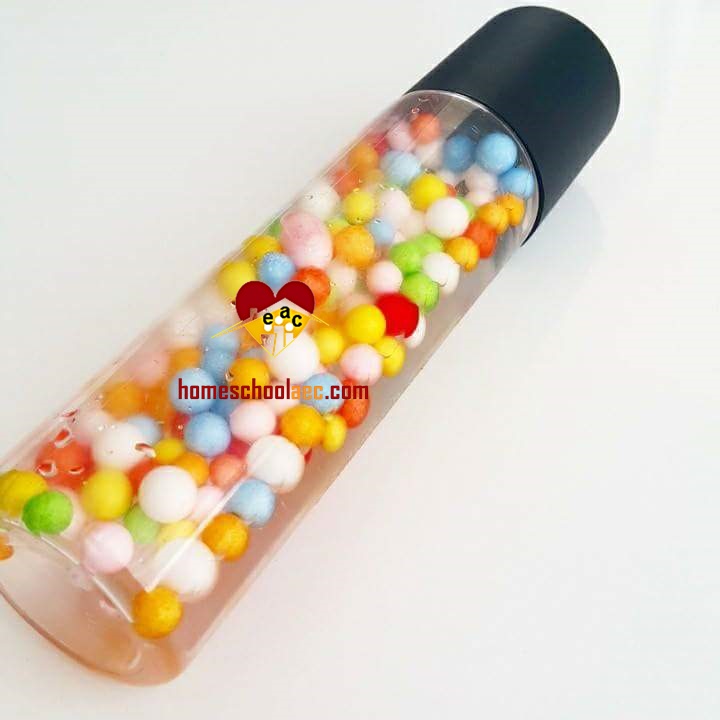
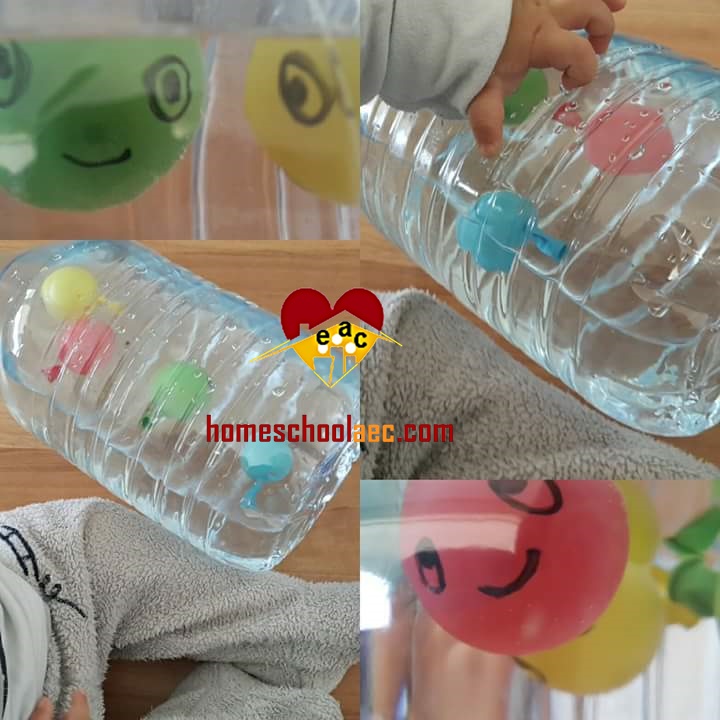
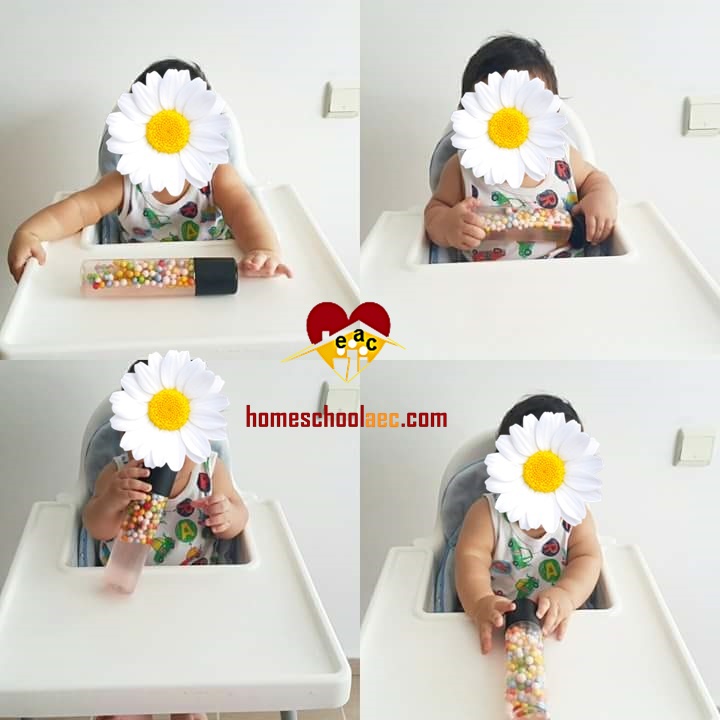
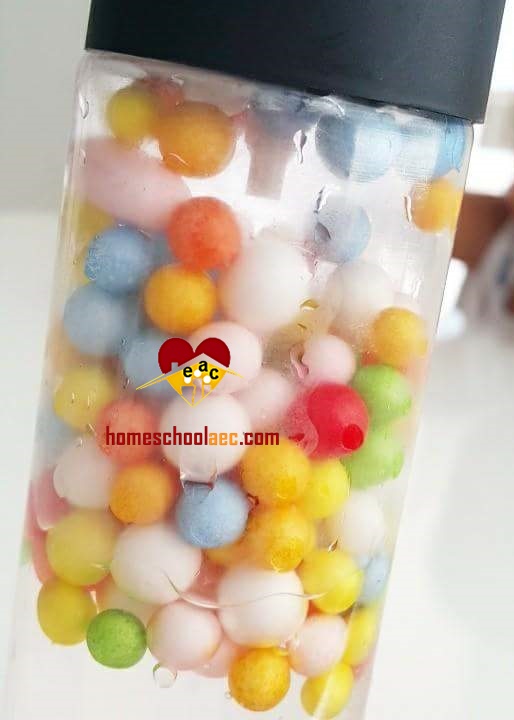
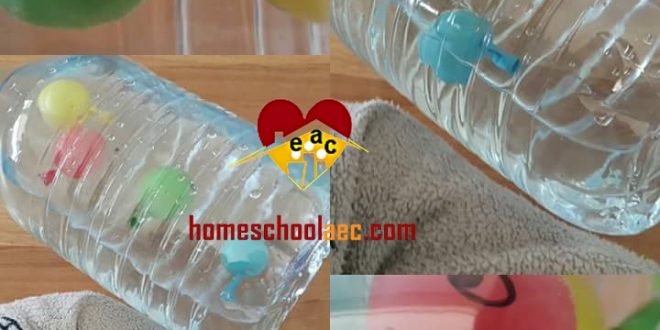
You need plenty of pet bottles to make sensory bottles. These bottles should be small in size so that they can be grasped comfortably by tiny hands and not too heavy after stuff stuffed into them. Fill the bottles with materials of the different colors, sizes and shapes. You can get some more interesting views by putting some water into some bottles. Remove the plastic labels and make sure that the bottles caps are too tightly closed. Then spread the game carpet and place these bottles side by side. Allow your baby for take the bottles one by one, shake it, examine its contents.
Appropriate age:
You can start from the moment your baby can grasp objects (usually 3 months).
Targeted skill development:
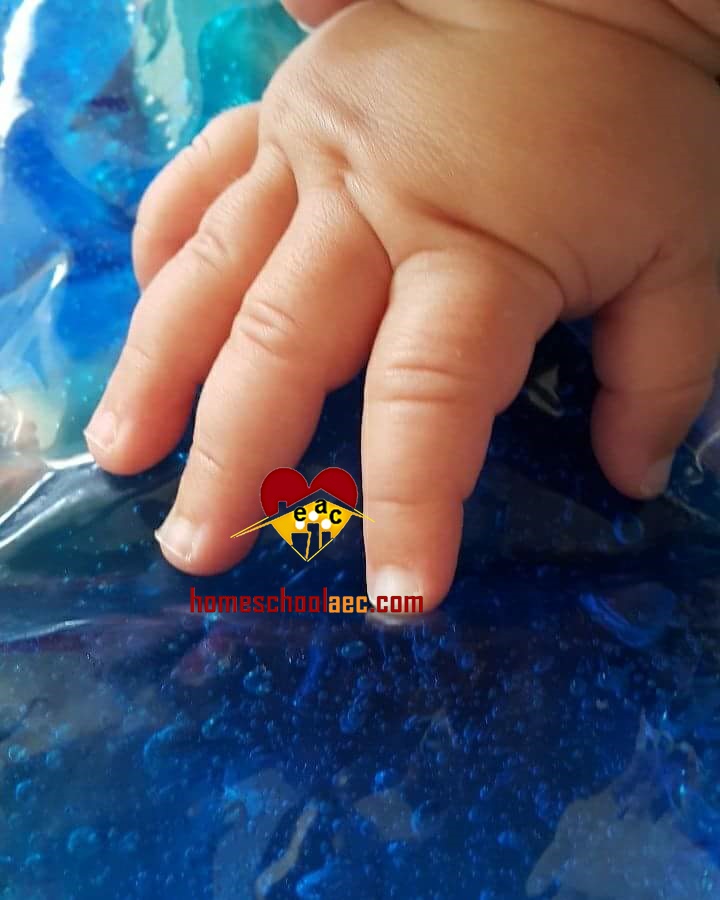
By playing with sensory bottles, your baby’s sensory skills develop. Touching ability improves by touching bottles; the ability of see improves by examining the materials in different colors and appearances; the ability to hear develops by different voices when they shake bottles. Also motor skills develop by gripping the bottles by hand.
Ingredients that can be put into bottles:
- Rice, legumes such as beans, colored macars
- Buttons
- Pompoms
- Beads
- Rattles
- Colored yarns, wool
- Glass beads
- Ball
- Small stones
- Shells and sand
- As you can put water into the bottles, you can also get a colorful appearance by putting fruit juice.
 Homeschool Craft and Art Craft Activities
One comment
Pingback: Sensory Bottles for Babies | Cute Homeschool Education