Pre-school Christmas Activities
While the new year is coming, we would like make our students and children feel this with some pre-school christmas activities. Because the notion of new year is as important as seasons or days.
In this page, we have compiled for you some previous activities we prepared before. We will present some christmas activities in detail and some with pictures only. By following our page, you can carry out the activities by taking a look at them from this page.
1- Christmas Sponge Print Activity
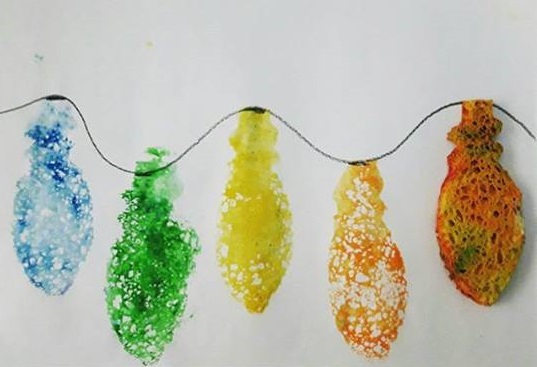
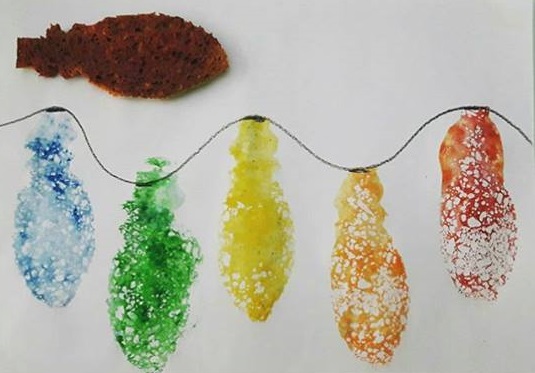
We did this activity on a white area. You can also use a white paper. In this very fun and easy activity, we carried out a work with the theme of welcoming the new year with lights. You can be sure that you will have a great time together with this easy activity that resembles christmas lights.
First of all, we need a sponge in the shape of a fish.It’s up to you which shape to choose of course.
Draw a wavy line on the area you will do the prints. Lamps will be attached to this line. Then dip the sponge in paint and do a printing activity. You can choose the colours as you wish. We have made different christmas lights by using such colors as blue, yellow, green etc. You could take a look to the picture below.
2-Making Christmas Tree with Hand Patterns
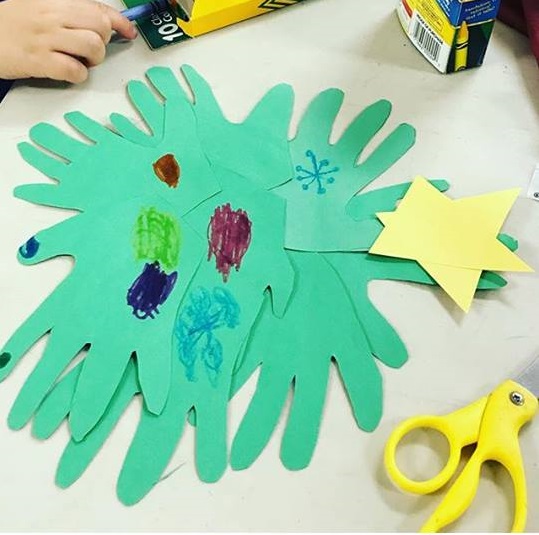
What we need to do in this activity is to grab a green cardboard, to put our hands on it, then to draw the outlines. Then cut the patterns from outlines. Please let the children make this, otherwise it would be meaningless to make this activity. We cut out around 8 hand patterns and then glued them on each other.
Ours does not look exactly like a tree but you could make better ones. Have fun!:)
Making christmas art tree crafts out of tracing hands and cutting them/arranging them was such a fun activity this morning.This one activity allowed the student to engage in fine motor coordination,bilateral coordination,visual motor cutting skills,tracing,spatial awareness and fun with creativity.
Materials:
- Glue and scissors
- Construction paper(green and yellow)
2-Fine Motor Christmas Tree
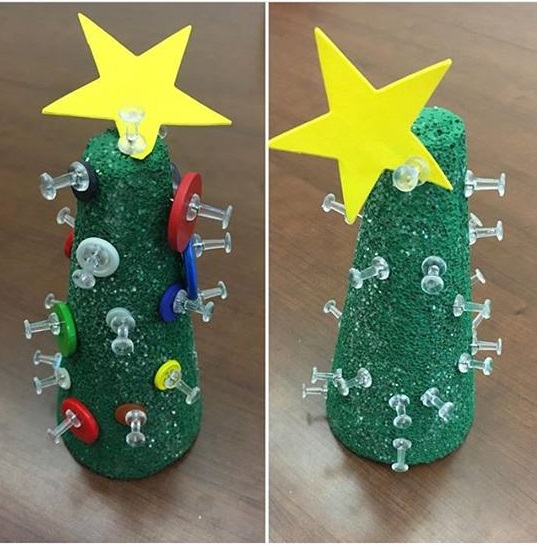
Christmas tree craft with using pins, Fine motor christmas trees.
One of my coworkers put these together for all the therapists to use this week and they are awesome.For higher level students,we had them attach buttons ornaments to a foam tree with push pins.For my lower level students,they just used the pushpins.
Pushpins are a great way to strengthen the tiny muscles in your hand used for daily fine motor tasks such as handwriting,buttoning,snaps,etc…
We also worked on bilateral coordination as their helper hand had to stabilize the tree while the other used the pin.
3-Making a Christmas Tree with Rolls
Christmas tree painting with toilet paper rolls
We are presented with a fun activity again. Needed materials are some toilet paper rolls, white cardboard for the floor, green paint, brush and glue.
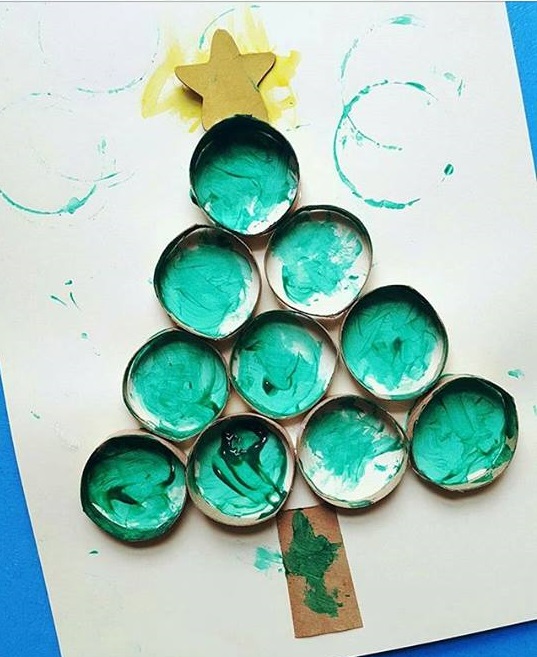
First of all, cut the rolls in a round shape to make them ready. We cut ten circle rolls in total. Since we will build a christmas tree, we can count the rolls as 4 being at the bottom, then 3, 2, and 1 being at the top. For the top, we made a star. Don’t forget to make the body of your tree.
Materials:
- Toilet paper rolls or paper towel rolls
- Green paint
- White paper
- Glue and scissors
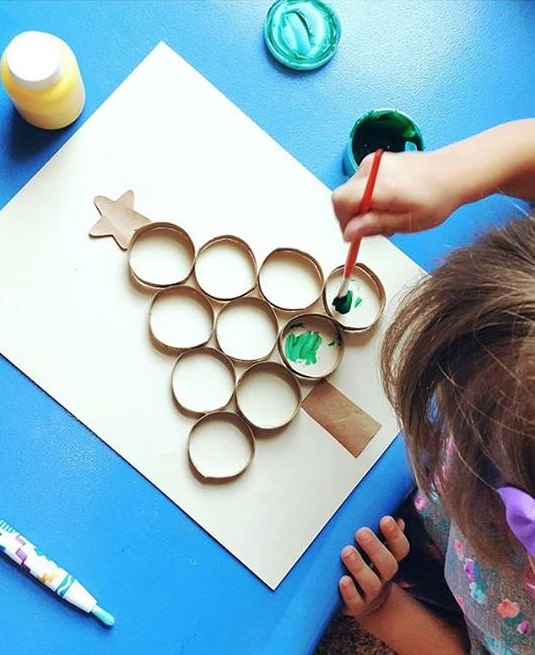
Then glue the rolls on the carboard. This step is very important for fine motor skills. My daughter made this. Lastly, we started to paint. 190 rolls were painted green in total. The star at the top is painted yellow. You can carry our this activity easily at home or school. Now we present some pictures. This is the final work. Wait some time for paint to dry.
4-Painting a Christmas Tree with Pine Branch
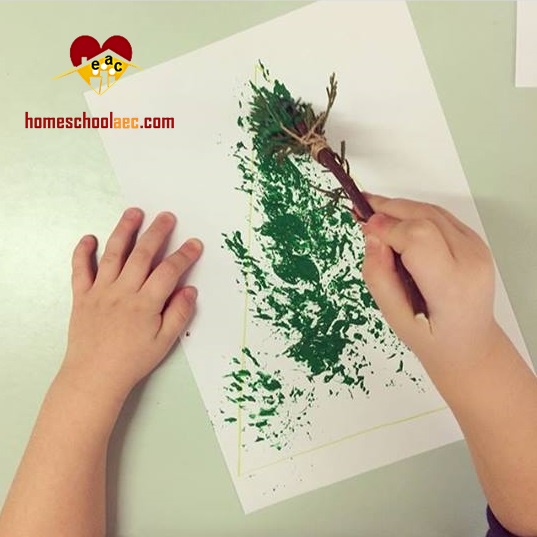
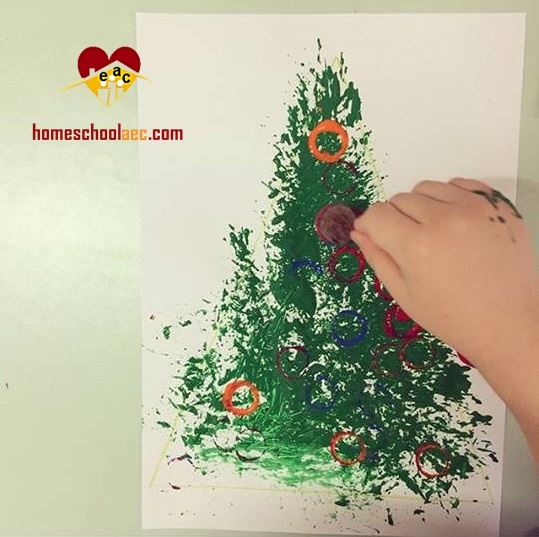
In this activity, we aimed to provide our children with sense of aesthetics. Firstly we should find a pine branch or a branch with thin leaves. Draw a sketch of a pine tree and make some shapes on it with any ring. You can call them ornaments too. We used one of our daughter’s toys.
5-Making Christmas Tree with Fork Prints
Children love fork print activities. Please don’t forget to read our previous fork print activities. This is a great pre-school christmas activity that can be made as a group at school.
Firstly, we provide each student with green paint, a plastic fork and a white paper. We will make a great pre-school activity by using this s,mple materials. In addition to aesthetic perception, fine and gross motor skills of our children will also be improved.
Christmas tree art with using plastic forks
Materials needed:
- Plastic or metal fork
- Green paint
- White and brown paper
- Glue and scissors
- Ornaments
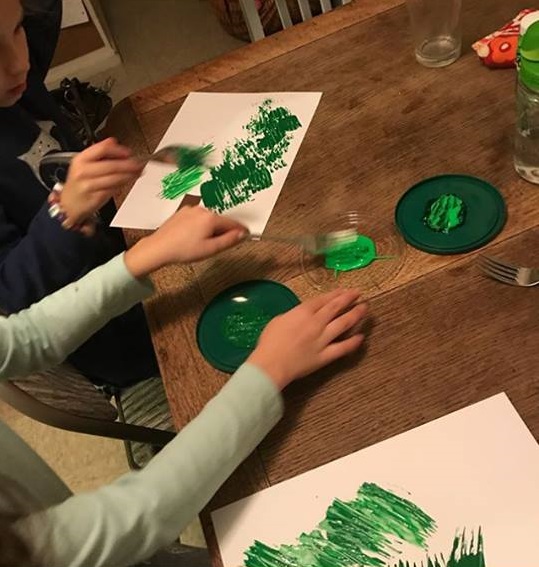
Make the body of the tree with a brown carboard and glue it on the paper. Then let the painting activity begin. Let the children to their own and make the tree in their imagination. Lastly we ask them to decorate the tree. Buttons, beads or any decoration material can be used in this step. You can take a look our final work.
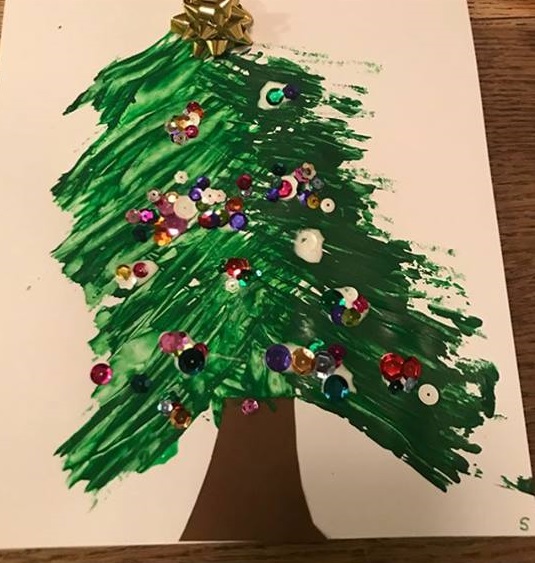
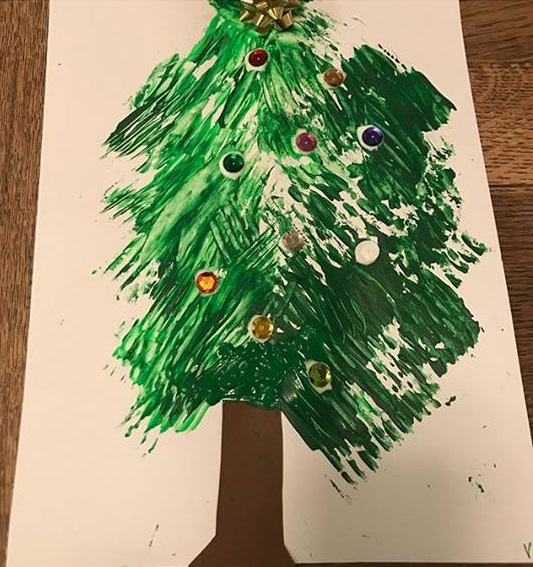
6-Christmas Card Art Activity with Hand Print
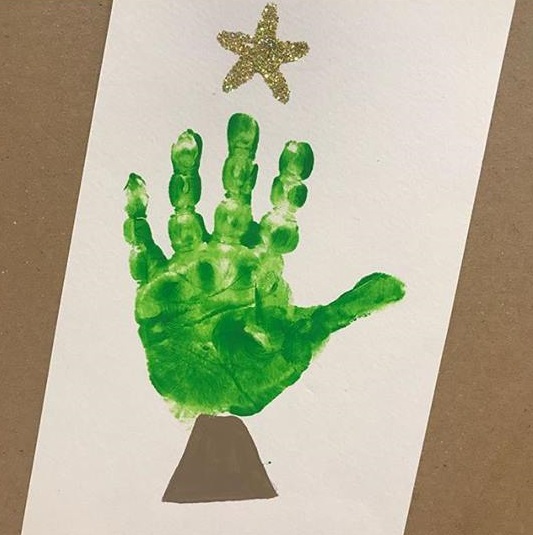
Hand printing activities are the ones that the children love. We put two activity pictures here. We call it christmas card too. They can make them as a gift to their loved ones. Try then to decorate the card with pompoms and with glitters. Happy new year!
I love the simplicity of handprints,especially this small handprint which is filled with so many little crease marks.To turn the acrylic green handprint into a tree,I added a glittery gold star and a brown painted tree base.Once dry,the tree was mounted onto some natural card stock.This is a perfect Christmas Card keepsake for loved ones.
Materials:
- Glittery gold star
- Green acrylic paint
- and white paper
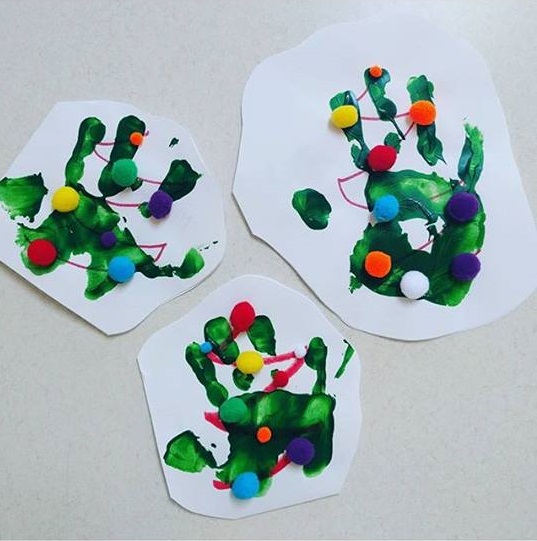
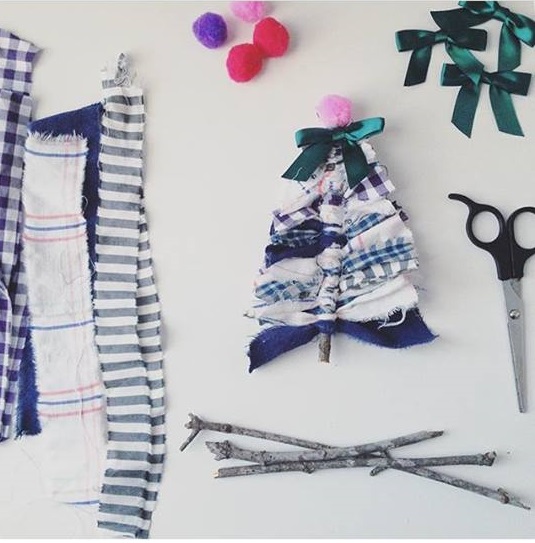
7-Natural Christmas Tree
Natural christmas tree craft for toddlers
Christmas tree made from extra material.Best part?Using the material from our last project.I like waste.The kids had out grown their paint smocks,so we found some old men’s dress shirt at the sharing centre,cut the collars off and most of the arm lenght.They wear them backwards and they look adorable and work great! The kids find them super comfortable too.Hope you are having a great week.Only 5 more sleep.
8-New Year Tree Art Activity with Gloves
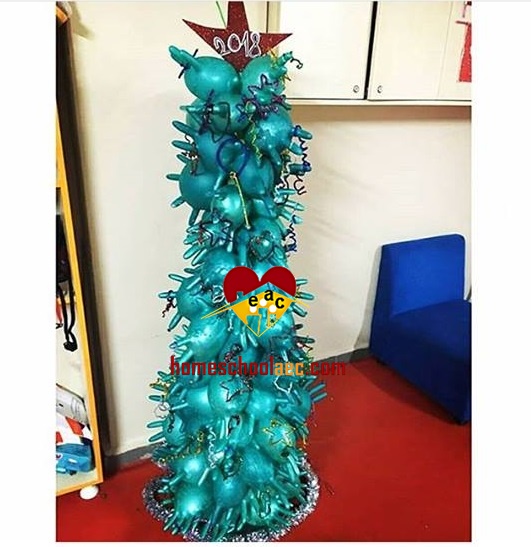
Materials needed in this activity are gloves, acrylic paint, water and a long stick. First, fill the glove with water and inflate it. Slide it to the stick carefully from the wrist of the glove and design a tree from wide to narrow by adding more gloves. Then the tree is painted and ornaments made out of chenille are hung on to the tree. You can use other kind of ornaments too. You can exhibit this tree at school or entrance door of your home.
Plastic glove christmas tree craft
Christmas tree
Materials:
- Surgical gloves(plastic gloves)
- Acrylic paint
- Water
- A long stick(wooden or plastic)
How to do it:
- Add some water into the glove.
-
And the gloves are inflated
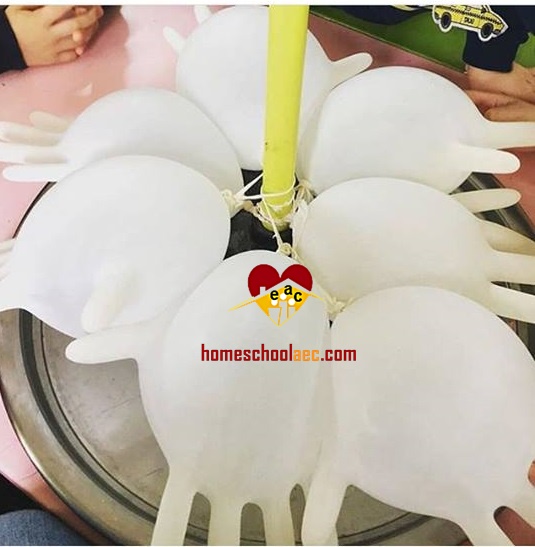
- In a balanced manner, the glove is passed from the wrist to the bar and the wide tare is designed correctly.
- After the tree is painted.
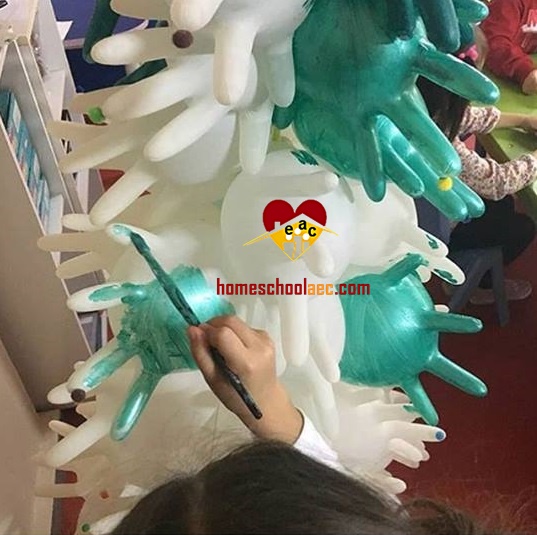
- And hanging from the pipe cleaners ornaments.
8-Christmas Foil Art
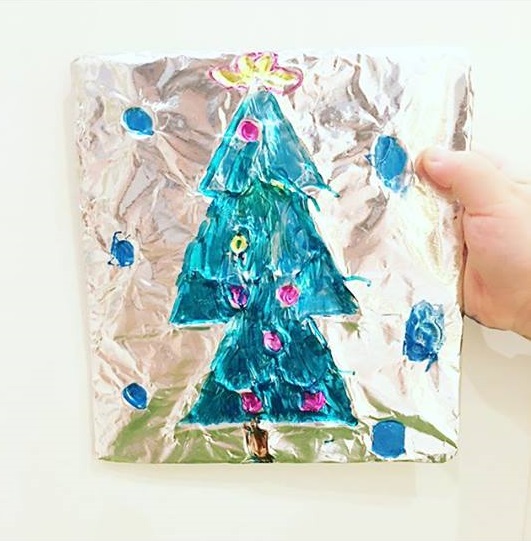
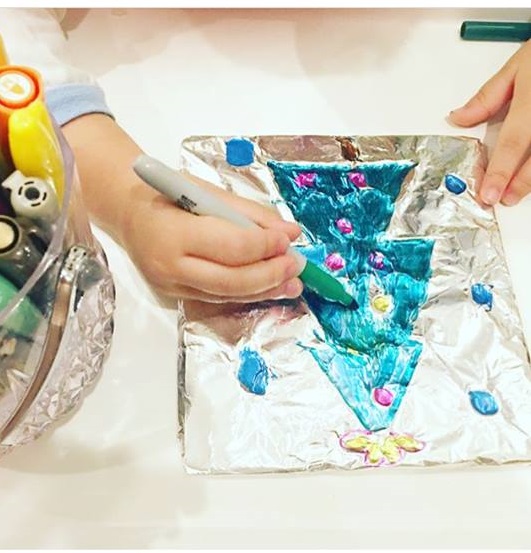
Christmas Foil Art.so many fine motor and other skills for little hands to practice.
Steps:
1-Draw any Christmas scene-large -on a cardboard.
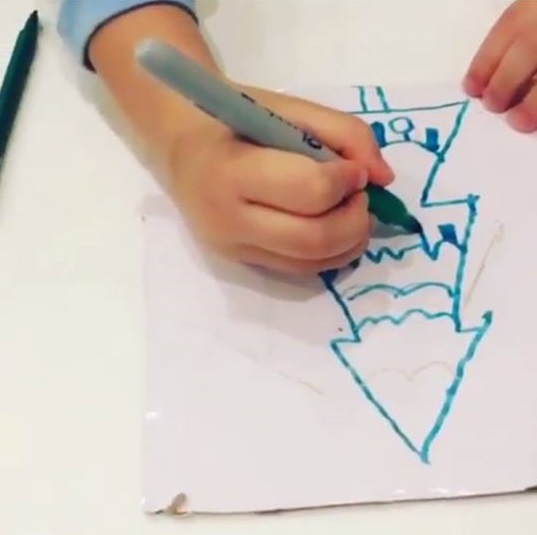
2-Trace with a glue gun(make sure it is nice and thick).
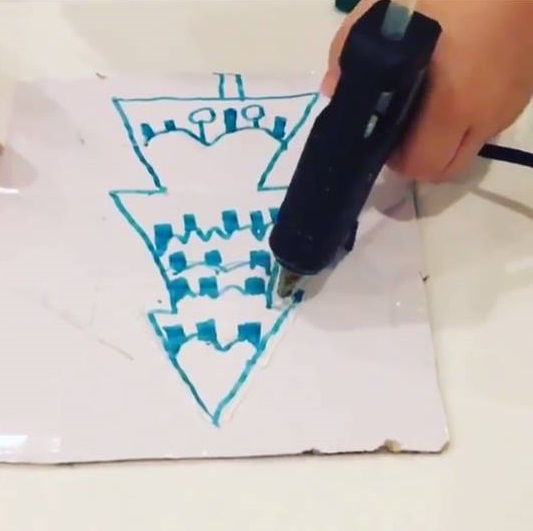
3-Wrap the cardboard with foil and press down so the glue gun bumps are visible.
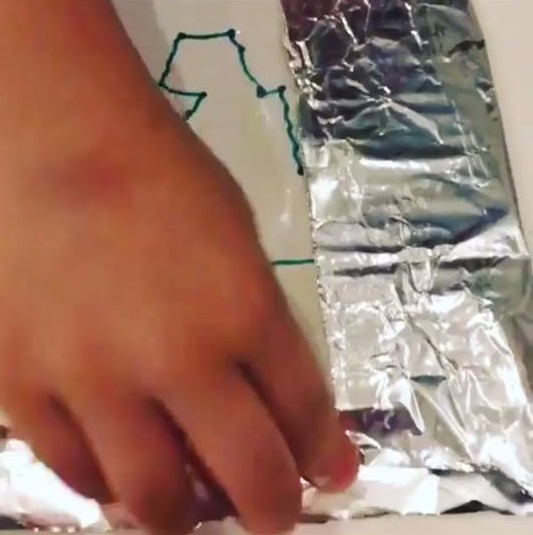
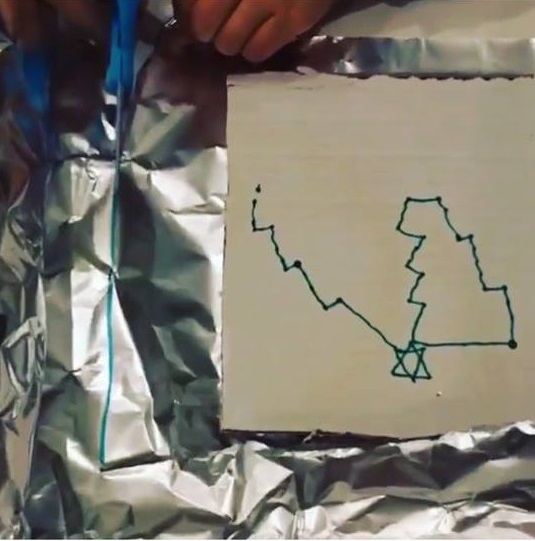
4-Colour within the ‘lines’.Drawing the picture larger makes it easier to colour and the effects clearer.
5-Punch a hole to hang it up or write a note on the back to gift it to a loved one.
More than : funnycrafts.us
You could send us your pre-school and primary school activities for us to share them on our facebook page of 110k followers. Have fun!
Marry Christmas…
 Homeschool Craft and Art Craft Activities
